|
Return to Patients Return to Reference Guide  Files Tab Files Tab 
Click the Patient Icon
Open Patient
Click the Files Tab

The Files tab lists all documents
and x-rays that have been scanned or imported into the patient's file.
 Example: Example:
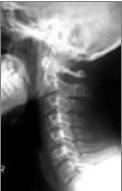
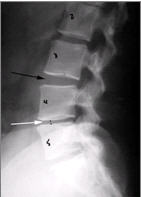
- X-Rays
- Insurance Card (Front and Back)
- Driver's License
 

To view a document or x-ray, highlight the document or x-ray and double
click or click the Open button. 
How to Add X-Rays: (or documents)
- Place X-Ray(s) on View Box
- Darken room, if possible
- Take a picture of the x-ray(s) with a digital camera
- Save to computer's hard drive, just like digital pictures
- Add to Patient's file
 Tip: Make sure view box light is on Tip: Make sure view box light is on
Click the Patient Icon
Open Patient
Click the Files Tab Click the Add button 
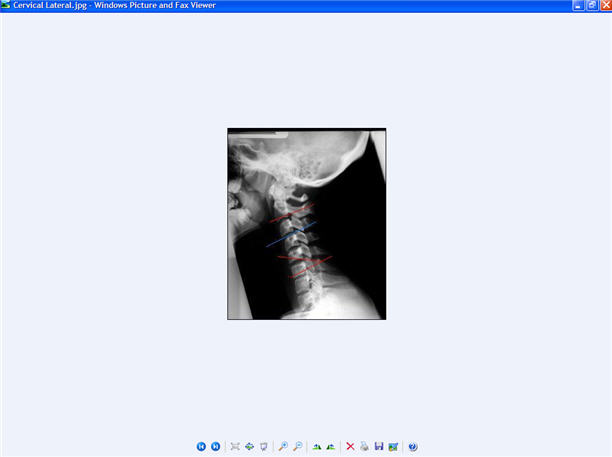
Locate the document or image that has been saved on your hard drive. Click the Open button.
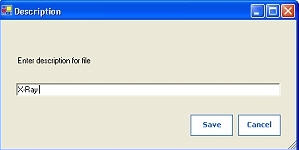
Enter the description (name) of this document or image.
 
 Tip: Begin description with the type of document or image. i.e. X-ray, Drivers License, Insurance Card Tip: Begin description with the type of document or image. i.e. X-ray, Drivers License, Insurance Card
 Example: Example:
X-Ray, Cervical Lateral, 01/02/09
Add Button: Click the Add Button to Add a new document or image
Open Button: Highlight a Document or Image and Click the Open Button to Open a document or image Rename Button: Highlight a Document or Image and Click the Rename Button to Rename a document or image The Description window opens, give the document or image and new name.

Delete Button: Highlight a Document or Image and Click the Delete Button to Delete a document or image  Note: Click the Magnifier to increase the document or image size. Makes Insurance numbers easier to read. Note: Click the Magnifier to increase the document or image size. Makes Insurance numbers easier to read.

Return to Patients Return to Reference Guide

|